However, now's the time for this one (finally), so grab your *insert preferred snack here* and seat yourselves comfortably...

Okay, let's go!
This jacket was patterned by my mom because it was supposed to be made earlier (=I wouldn't have had the time to pattern it myself) but the cosplay group was moved to another convention. After that I was too lazy to do it myself anyway and it was so easy to just start working on a costume with ready-made patterns!
 |
| Some ready-cut fabrics like the back bodice parts and inner pockets. Messy desk as usual... |
 |
| Mom wanted to take photos of me when I was working and here's a compilation of some. Notice the violet hair and awesome shorts. |
 |
| The breast pocket. It's a fake, just a small folded piece of fabric sewn onto the bodice. It was a bitch to work on because the fabric wouldn't fold even with heavy ironing and I had pretty small seam allowances already. And I'm bad at doing clean top stitches. I'm happy with the result though. |
 |
| Front parts of the bodice, now with darts and the actual pockets of the jacket. |
 |
| Making of the collar. It was more difficult than any I've sewn before. I had practiced once how to sew that kind of seams before making the real one. I think I survived pretty well. |
 |
| The sleeves, the other pinned together. |
 |
| Progress! The bodice, added the collar parts, added the sleeves! In the last photo I have pinned the bias tape to both sleeve ends and pinned the jacket closed to see where to put the bias tape on the hem so that it matches equally on each side at the front. (Bookshelf is a good place for hanging clothes.) |
 |
| Many pins... Clever me puts the sharp ends so that I will surely hurt myself while sewing. I had to redo parts of the hem bias tape four times or so because there were many parts where it wasn't attached on the reverse side. I kinda hate bias tape for some reason hahahaha... |
 |
| All the sewing is done except for some things that would be hand-sewn later and the buttonholes. The jacket looked better on the dressmaker's model than on me even though it isn't even the right size for it... |
 |
| Then started the making of details! This time it was the SSS badge on the left sleeve of the jacket (thank god only one). Because I'm a sucker for templates and painting details, the "only option" for executing the badge was of course nothing but fabric painting with a template. Two of them, actually. So I measured a preferred size, printed out the picture, drew the templates to contact paper and started cutting with a paper knife. |
 |
| Progress of the painting. It might look neat and stuff but it really was not that all the time. I painted this on two or three days (? I don't remember so well anymore, but I didn't have much time left at all) or better said, one whole night and the days prior and following that. The paints dried pretty fast, gladly! I had to mix three different colors (dark red, red orange, pink orange) from my paints and I really had to make them good before starting to paint anything because I wanted to be sure that they're about right in natural light. I'm not all that fond of the resulting colors because I had to paint more layers than I had tried the colors on so they differ some, but there was no going back so I have to accept it. |
 |
| Almost finished...not. Painted using two really small brushes and a toothpick for smaller details. <3 Toothpicks for life as a painting tool! This (plus two black lines around the brighter white area in the middle) was how the badge was at the convention. I decided not to finish the smallest details in a rush because black paint is my arch enemy, I really didn't want to mess up 10 hours worth of shitting bricks at this point. AND I still had things to do and time was running out...as usual. |
 |
| Well of course I would make my own necktie, who do you think I am? The answer: a person who couldn't find a plain dark blue tie from ANYWHERE and I had searched many places (well except for an actual shop for men's clothes, who would want to pay 20€ for a cosplay necktie anyway?). So as a last resort I made my own with a velcro fastening and it sure did its job. |
 |
| About 1,5 months after the convention I finally kicked my own ass and decided to finish the badge. The black outlines around the S-marks are done with a toothpick again and for the text I cheated a bit, I used a 0.05 super fine tip marker and dipped it to the fabric paint, using the tip as a brush. Overall, I'm super satisfied with the painting result. The colors on the left side are closer to the reality in natural light. They are a bit off but not too much to make me fret on it. |
I could list some positive and negative memories about making of this cosplay here... let's dig the back of my memory a bit more...
Posititive:
+ Ready patterns (thanks mom)
+ I learned new techniques in sewing (the collar, attaching the sleeves)
+ The fabric felt and looked nice and the color was good
+ Fabric painting ftw
+ Details
+ I'm overall very happy with my work on the jacket
Negative:
- The fabric was some kind of a blend of polyester and it didn't fucking fold!!! Ironing the seams took lots of time
- The bias tape was too narrow as it was so I had to cheat a bit with it on the reverse side and had to sew the tapes many times because of that
- Of course some mistakes happened and the most visible one is with the pockets. (Fixed with snap fasteners on the way to the convention...)
- I started "early" but still had to compromise five night's sleeping time for working on it
- ...As usual!
- I'm slow in general
But, after all this, I can still say I'm proud of it as a whole. It was a nice piece of clothing to make and I learned a lot.
- - - - - - - - - - - - - - - - - - - -
Okay, so that's that for how I made my jacket, it's time to move on to our Tracon Sunday's Angel Beats! group and the small amount of photos we were taken of.


 |
| This far we were still trying... |
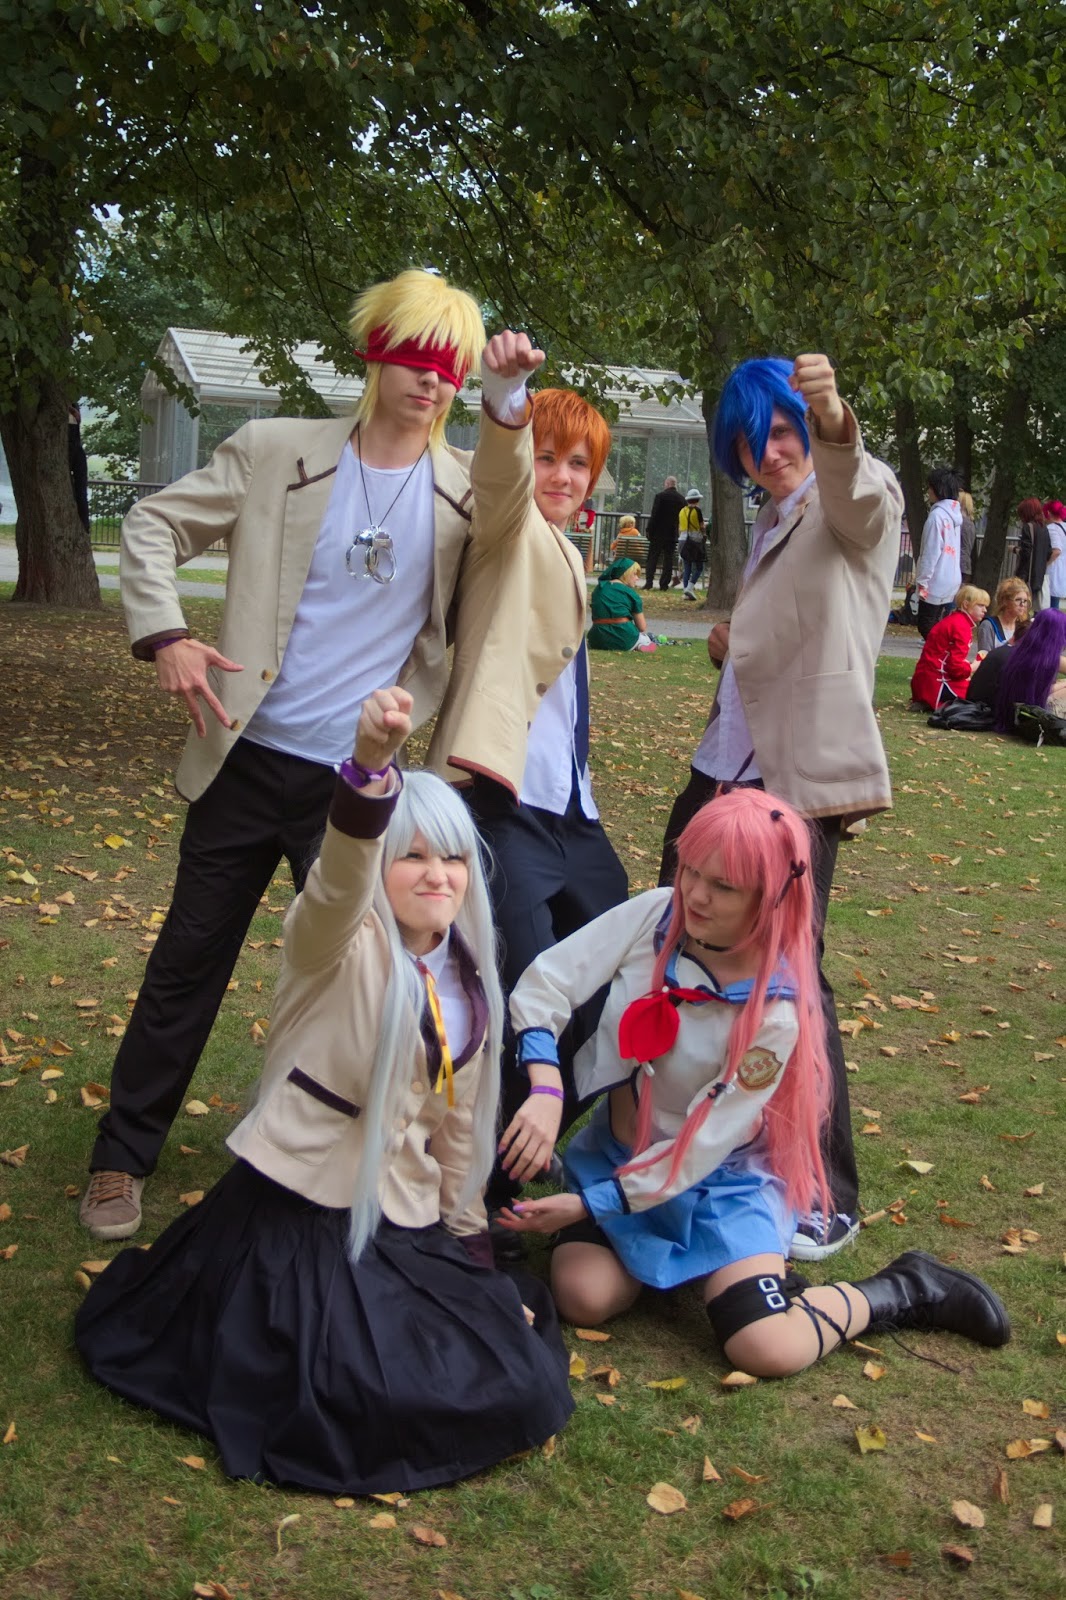 |
| But not anymore! Whooop! |
 |
| This might have been the "omg there's a bee!" moment, don't know... |
 |
| We sure had fun. |
 |
| Trololololooo. 100% accurate character action. |
 |
| This is pretty nice except for I'M IN THE FRIGGIN' TREE I should've moved that plant... |
Otonashi Yuzuru - me
Hinata Hideki - Kimi
T.K. - http://whitehair-and-eyepatch.tumblr.com/
Tachibana Kanade - RiyoRing
Yui - http://brokenbloodywings.tumblr.com/
- - - - -
TL;DR:
I think the header says it all.
Tää teijän ryhmä on kyl aika muikee :DD
ReplyDeleteps komeet shortsit